Set attending landing page
How to create custom filters:
To create a custom filter or exams, such as, “My Exams”, you can create a pin to your start board.
- Filter by what you want to save, in this example, we will filter for all exams performed by “Me”, which is whoever is logged in.

- Now pin this filter to your start board by pushing the push pin logo and naming it:

- This will now be on your start board. You can create as many filters as you like, such as by date, status, or other conditions.
How to link it to the order (if needed):
If you had to do the study without selecting it off the worklist on the machine, you can link it to the order through a very simple process. Remember, all studies MUST be linked to an order, otherwise they will not transfer to the EMR. You can tell if they are linked by looking for the logo that looks like bricks falling:
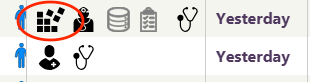 If the study is missing the order, as in the second study in the image above, you can link it to the order by following these steps:
- Select the study by clicking on it once, then select “Orders”:

- Click “Link”:

- Click on the order, and then hit “select”:
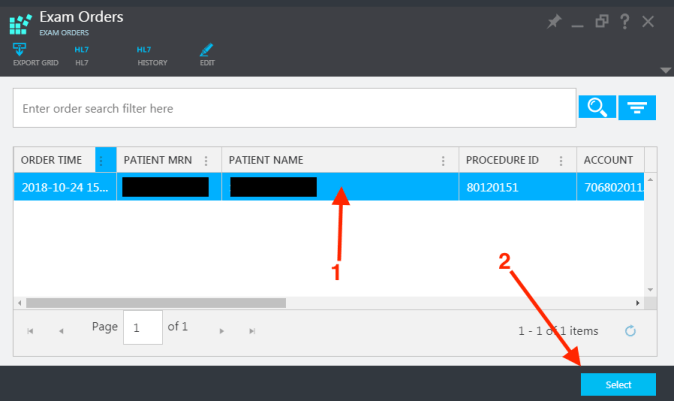
- The order is now linked.
If you do not see the orders button, you need to customize your menu to show it:
1. On your main screen, push the little down arrow to open up more options for your menu:
![]()
2. Click on “Customize”, then “Orders”, then “Done customizing”
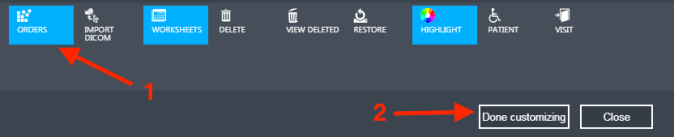
3. Now the orders will always be on your main menu.
How to edit a study:
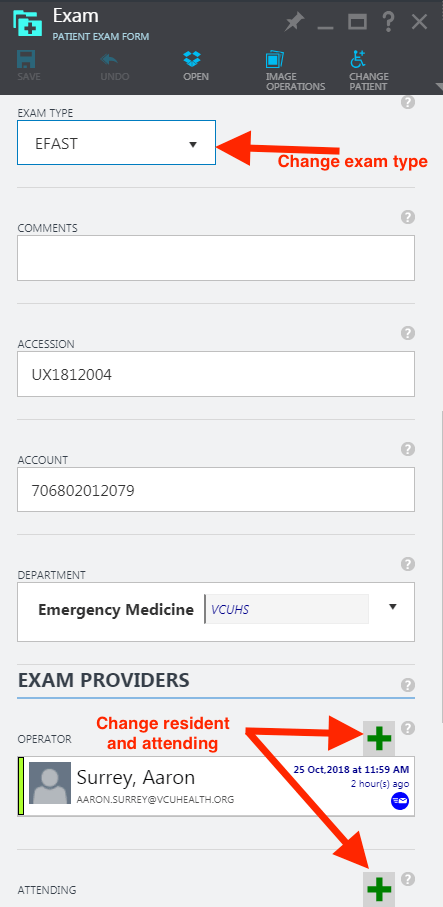
To change any info on a study, such as the operator, attending or study type (or to correct patient info):
- Click on the study, and select “Edit”

- Here you can change info:
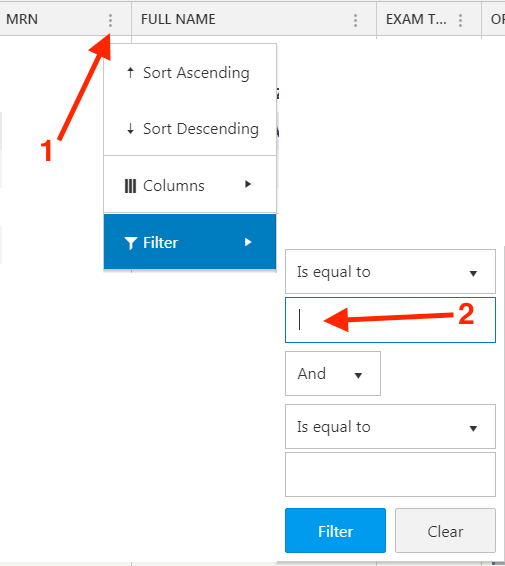
How to search by MRN:
The main search button is not the best for searching by MRN, instead use the filter option:
How to export images for educational use:
All images can be exported in high quality for use in educational material. The images will have PHI removed automatically.
- Find the exam of interest, click “image operations:

- Select the image you want to export, and push export

How to see your statistics:
You only need to do the following steps once, then you will have a quick link to your stats!
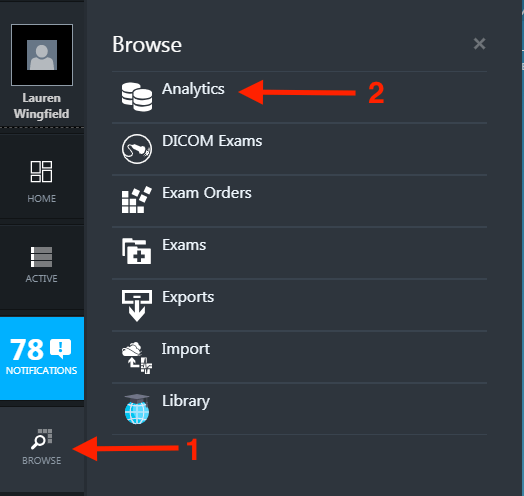
- Click browse, analytics
- Double click my progress reports, then my statistics
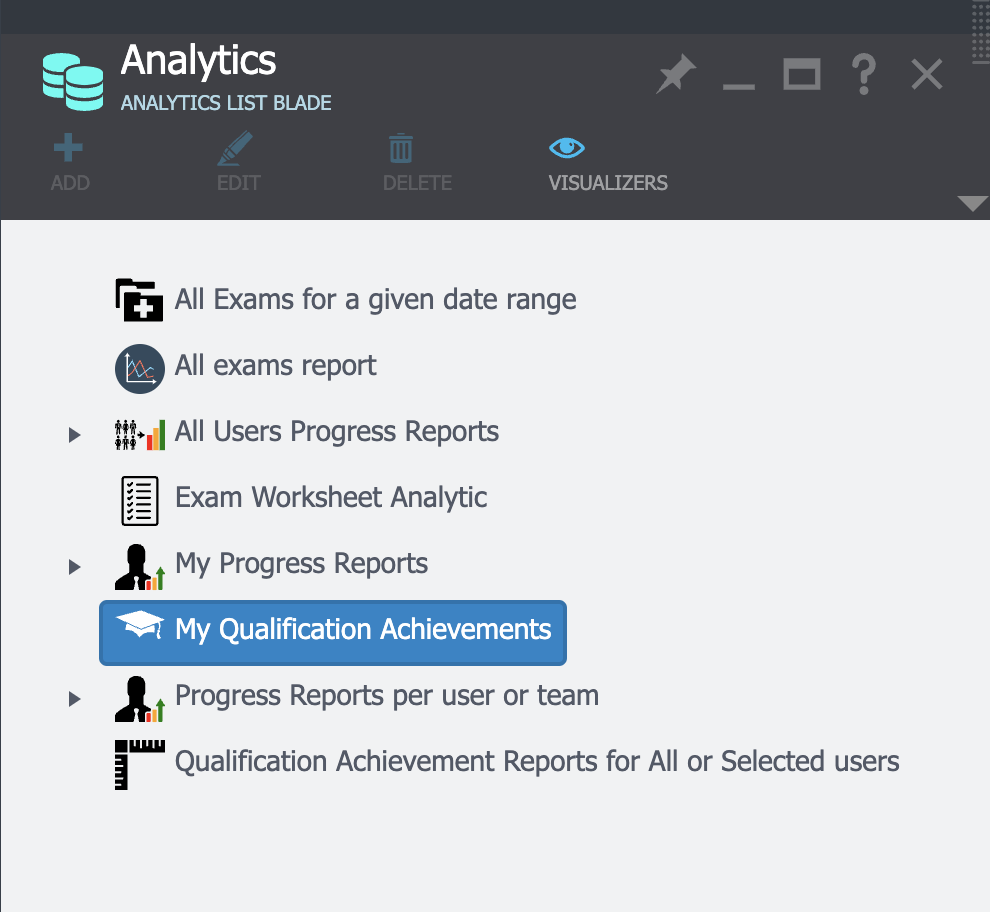
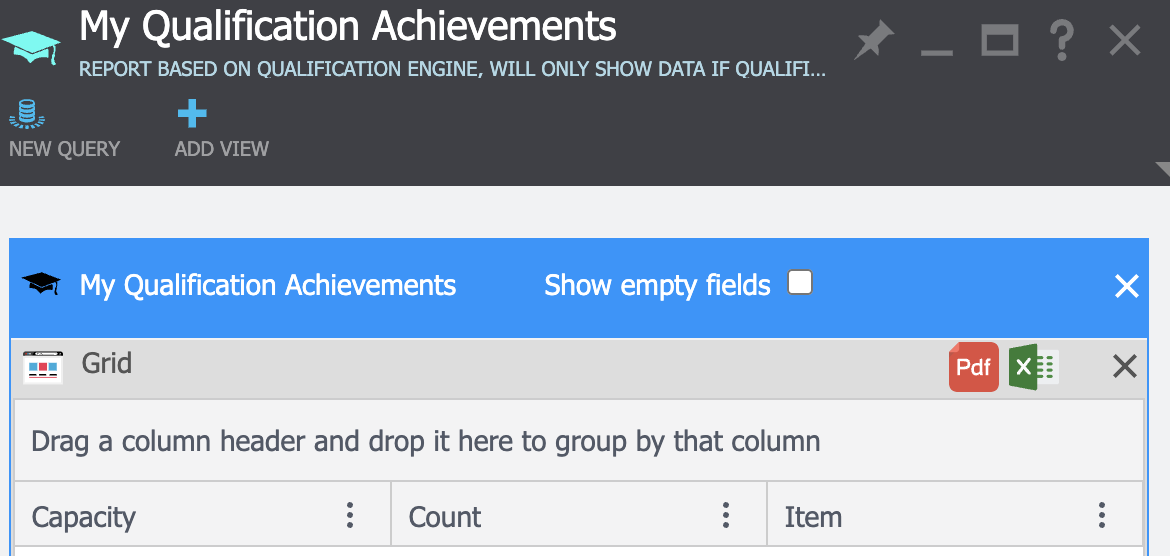
- Then select grid view
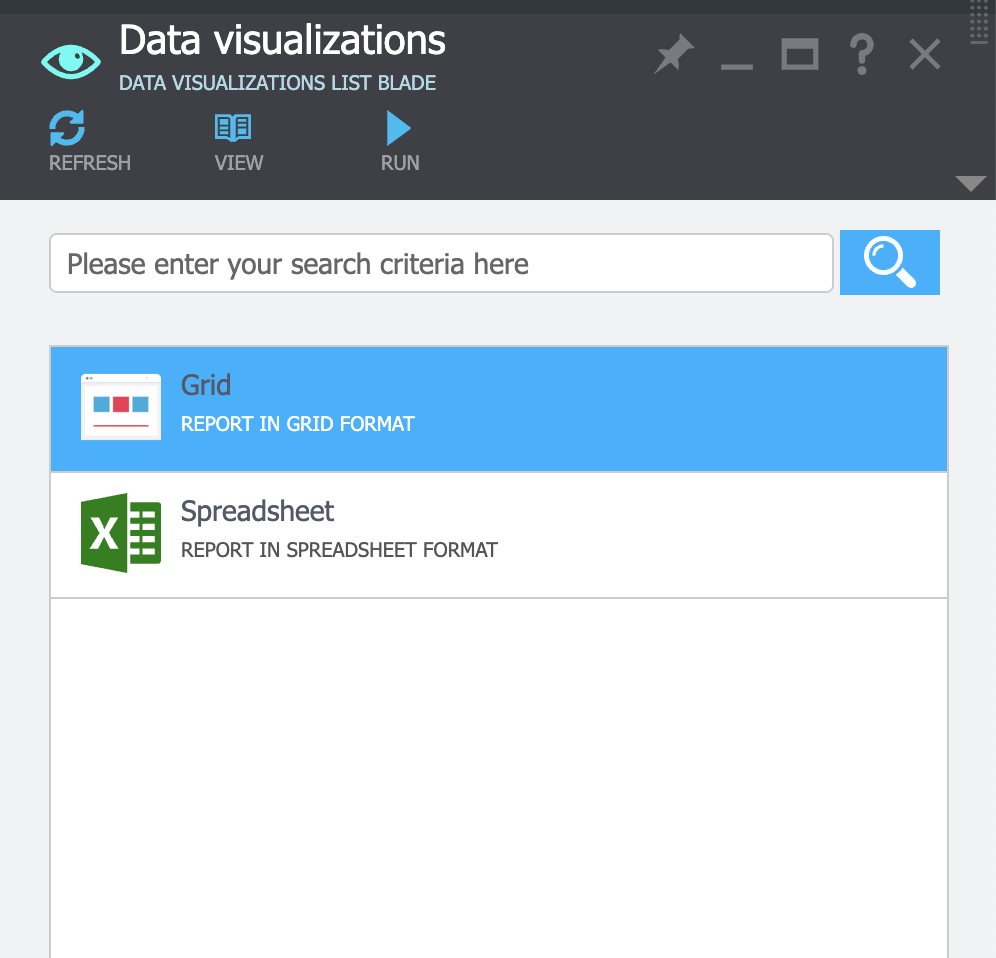
- Select graduation requirements
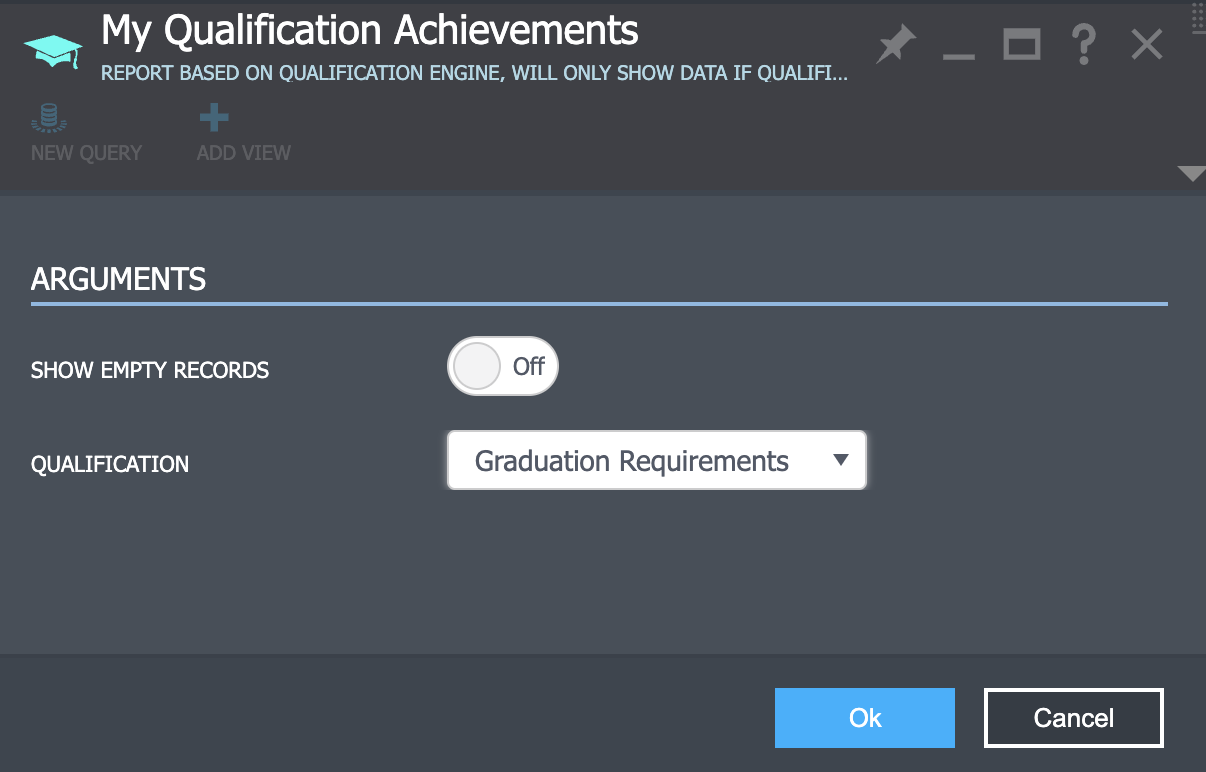
- Now pin this to your start board: